How to Configure & Use Jitsi (Windows OS)
Download a PDF version of this article.
By: Shane Radliff
May 25, 2015
Jitsi is an open source platform similar to Skype and handles messaging, audio calls, and video calls. In addition to that, Jitsi comes stock with Off the Record (OTR) and Zimmerman Real Time Protocol (ZRTP) to provide secure communications.
OTR is the program used to encrypt messaging, while ZRTP is what encrypts VoIP (Voice over Internet Protocol) calls.
Since Jitsi comes stock with OTR and ZRTP, the install is quite simple; but to ensure simplicity and accuracy, I have decided to do a tutorial for the configuration and use of Jitsi on a Windows OS.
Note: I don’t think the set-up for Windows vs. Mac is much different, so it’s possible you could use this for Mac OS too.
Downloading Jitsi and Setting up the XMPP Server
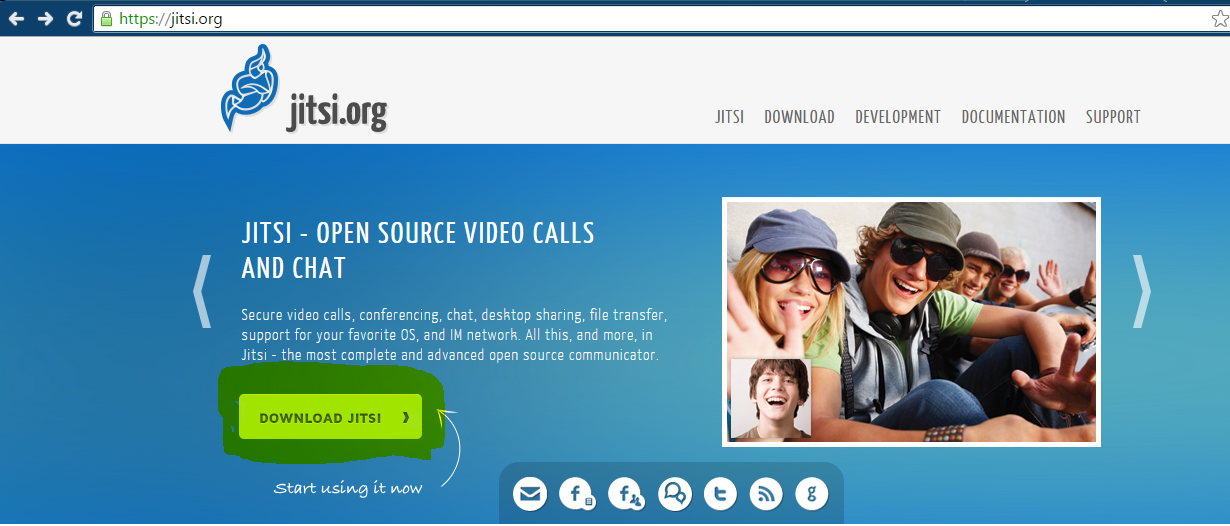
1. The first step is to download Jitsi.
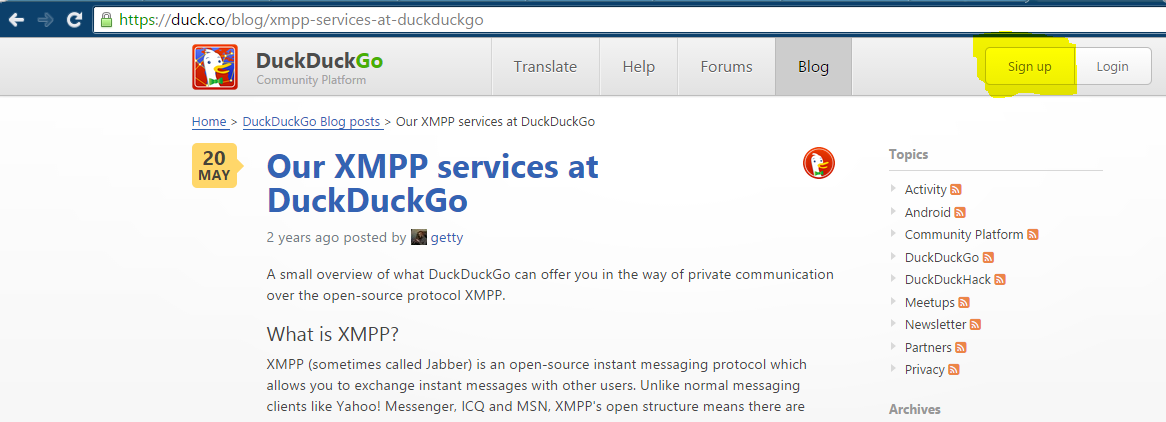
2. While you’re waiting for Jitsi to download, you’ll need to set-up an XMPP server. Head over to DuckDuckGo and sign-up. Note: make sure to remember your email ([email protected]) and password as you will need that to log-in.
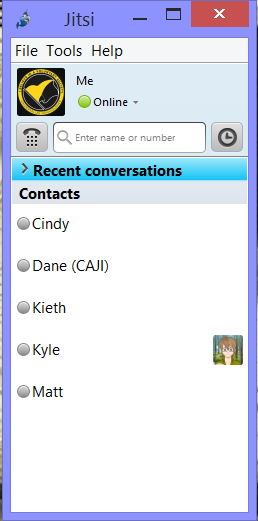
3. After you have set-up your XMPP server through DuckDuckGo, you’ll need to open Jitsi.
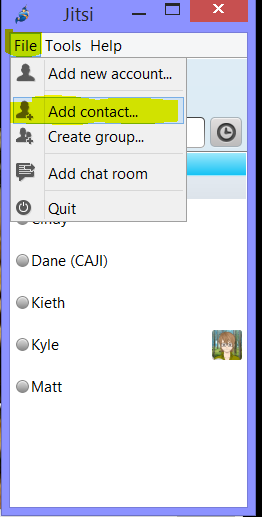
4. Once Jitsi is open, you’ll click “File” and then “Add New Account”. It will give you a few options but you’ll want to login through the XMPP Server option (near the bottom of the list). You’ll use the log-in information that you signed up with on DuckDuckGo. Note: the email will be something like: [email protected].
Setting up Off the Record (OTR)
5. Next, find a buddy and add them. You’ll do this by selecting the “File” dropdown and clicking the “Add contact” button.
6. Once you two are friends, you’ll need to highlight their name and click the message icon to start a conversation. Next, you’ll click the lock in the top right of the chat box. A dialogue should appear that states: “John Doe is contacting you from an unrecognized computer. You should authenticate…” You’ll then click the hyperlink to authenticate your buddy.

7. Once you click the link, a new window will appear. It will show your fingerprint and also the purported fingerprint of your buddy. At this point, you will have to use a separate channel to authenticate. That can be done by a VoIP call, phone call, or in person. You’ll read your fingerprint and then your buddy will read theirs. If they match, then you will click “Authenticate Buddy”.
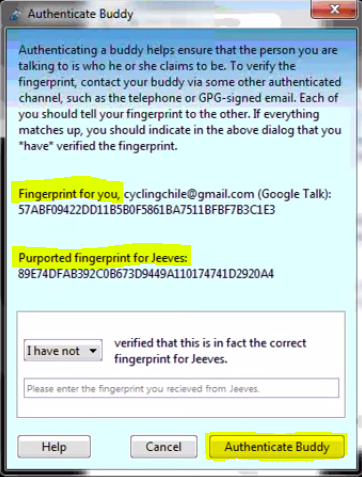
8. After you click “Authenticate Buddy”, check the chat window and make sure the lock is green and has no further warning messages. If it’s green, you’re now using Off the Record encryption in your messages with the buddy you verified. Note: keep in mind, you’ll have to do it separately for everyone you chat with, but you will only have to do it once for each.
Setting up Zimmerman Real Time Protocol (ZRTP)
9. Highlight your friend’s name and click either the audio or video call button. It will take a few seconds for it to connect and then it should start ringing.
10. At that point, you will see a button in the middle of the call window that says “connected” with an unlatched lock. That is indicating that ZRTP is not connected.
11. After a few seconds, there will be window that opens up at the bottom of the call window.
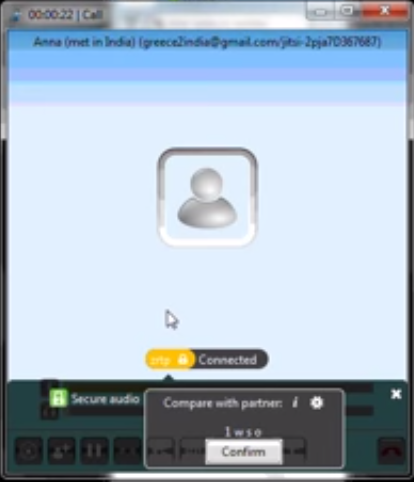
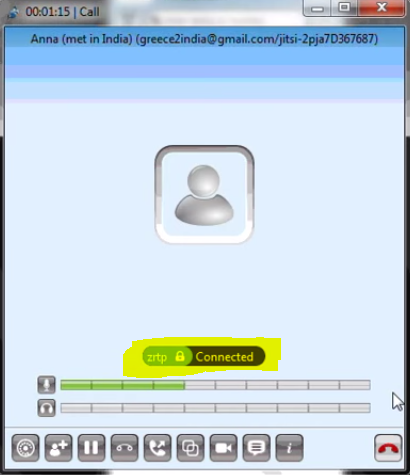
12. At this point, the call is still not secure, and you will need to verify the key with your friend as an additional security measure. If the codes match, then you will click “confirm” and close out of that window. ZRTP should be connected and you can verify that by making sure the lock is now closed and green.
If you made it through all the steps and followed the instructions, you should have Jitsi, ZRTP, and OTR configured. If not, and you’re having some problems or technical difficulties, please take a look at these two videos and they should be able to answer any questions. Alternatively, view the tutorial made by the Pillow Fortress blog by clicking here.
If for some reason those do not work, please email me or call me at 309-533-7857 and I will assist you with getting it configured properly.
You’ve just taken a great step in ensuring private communications and have also began implementing a security culture.
I would further recommend encrypting your email as well. A colleague put together a great tutorial on setting up Pretty Good Privacy (PGP), which you can find here.
Lastly, if you feel like there is something missing in the tutorial or that something needs to be explained better, please let me know. This will be updated as needed when I get feedback.

Pingback: You Are Going to Prison: The Importance of an Arrest Plan - Liberty Under Attack
Pingback: An Agorist Anecdote - The Last Bastille Blog
I thought Jitsi was a VOIP replacement for Skype. Now I know it’s only a voice chat application and can’t call landlines. Thank you for explaining how it works.
Jim,
Yes, Jitsi is an encrypted VOiP replacement for Skype. I don’t think there’s any option to call landlines. It’s end-to-encryption using ZRTP, so I don’t think that’s even possible. But, hey, I may be wrong.
Thanks for checking it out and for the comment.
Shane
Pingback: How to Configure and Set-Up Jitsi – Liberty Under Attack | Prometheism.net
Pingback: TVP Intermission #66: [Jitsi] An Open Source & Encrypted Alternative to Zoom and Skype (& The Like) | The Vonu Podcast
Pingback: Jitsi: An Open Source & Encrypted Alternative to Zoom and Skype (& The Like) | Agorist Nexus